企业内部一般都会有多个业务、应用系统,为建立统一的用户管理、身份配给和身份认证体系,实现一个账号登录所有系统,需要建立一套统一身份认证服务平台。
统一身份认证服务平台一般包含以下几个部分:
- 账号管理:常见有AD/LDAP或者使用关系型数据库
- 认证管理:常见有OAuth,SAML,CAS等
- 授权管理
- 审计监控
而单点登录(SingleSignOn,SSO),不光可以实现一个账号登录所有系统,它通过用户的一次性登录认证,就可以访问多个应用。SSO一般会被包含在认证管理功能里。
极狐GitLab支持多种身份认证和授权方式,可以与企业的统一身份认证服务平台集成。包括对接AD/LDAP实现统一账号,对接SAML、CAS、Auth0、OAuth2等实现SSO。极狐GitLab对于AD/LDAP、SAML、CAS、Auth0的对接提供了详细的文档。而对接Generic OAuth2的文档较粗放,网络上也没有太多参考资料,所以整理了一篇极狐GitLab对接OAuth2的实践文章。
部署OAuth2 SSO服务
该步骤用于部署OAuth2 SSO的示例服务,已经有OAuth2 SSO服务的用户可以跳过,但可参考其中的内容。演示项目基于SpringSecurity+OAuth2实现单点登录SSO[1]修改。
下载演示项目
演示的代码存放在极狐GitLab SaaS(JihuLab.com)上,地址为:https://jihulab.com/majinghe/open-source.git。将此 Repo 代码 clone 到本地。
配置
- 编辑auth-server/src/main/java/com/example/authserver/config/AuthServerConfig.java的redirectUris,添加或修改极狐GitLab的CallBack URL,相当于给OAuth2 SSO服务添加可信的重定向URL。
public void configure(final ClientDetailsServiceConfigurer clients) throws Exception {
        clients.inMemory()
                .withClient("SampleClientId")
                .secret(passwordEncoder.encode("secret"))
                .authorizedGrantTypes("authorization_code")
                .scopes("user_info")
                .autoApprove(true)
                .redirectUris("http://localhost:8301/login",
                              "http://localhost:8302/login",                        "http://example.gitlab.com/users/auth/oauth2_generic/callback");
// 必须进行redirectUris的配置,否则请求授权码时会报错:error="invalid_request", error_description="At least one redirect_uri must be registered with the client."
}
- 用户名和密码默认配置在auth-server/src/main/java/com/example/authserver/config/SecurityConfig.java下
protected void configure(AuthenticationManagerBuilder auth) throws Exception {
       auth.inMemoryAuthentication()
               .withUser("test@123.com")
               .password(passwordEncoder().encode("123"))
               .roles("USER");
}
- OAuth2相关配置在client-a/target/classes/application.yml下
security:
  oauth2:
    client:
      client-id: SampleClientId
      client-secret: secret
      access-token-uri: http://localhost:8300/auth/oauth/token
      user-authorization-uri: http://localhost:8300/auth/oauth/authorize
    resource:
      user-info-uri: http://localhost:8300/auth/user/me
编译启动
# 项目根目录
mvn clean install
# auth-server http://localhost:8300
cd ./auth-server
mvn spring-boot:run
# client-a http://localhost:8301
cd ./client-a
mvn spring-boot:run
# client-b http://localhost:8302
cd ./client-b
mvn spring-boot:run
运行测试
- 访问client-a localhost:8301
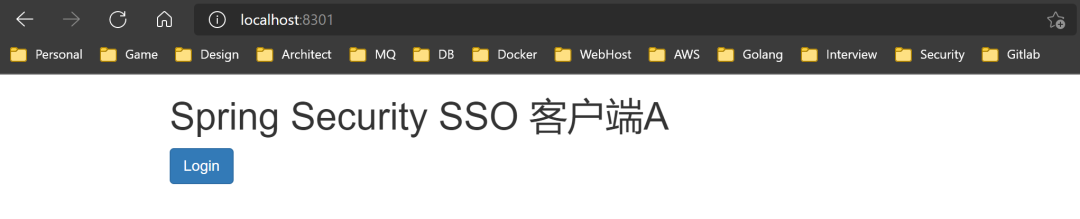
- 自动跳转到auth-server localhost:8300
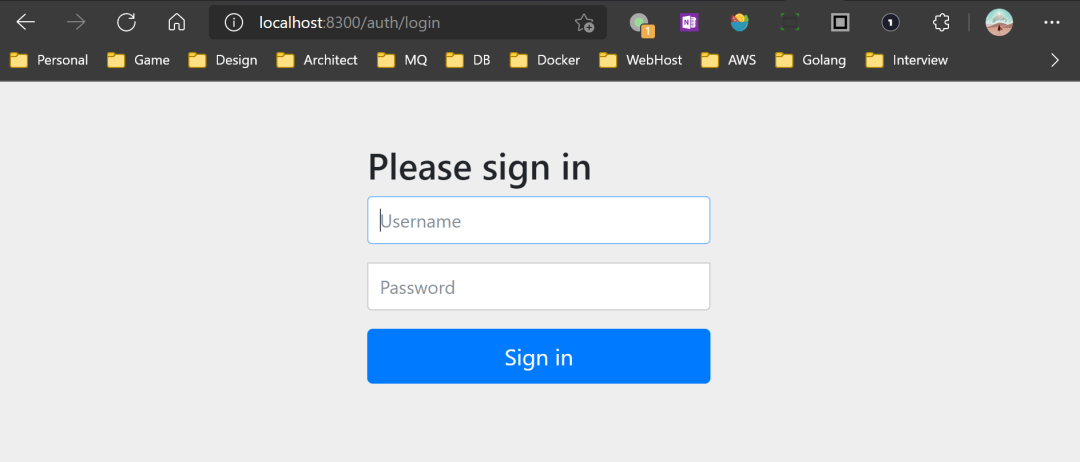
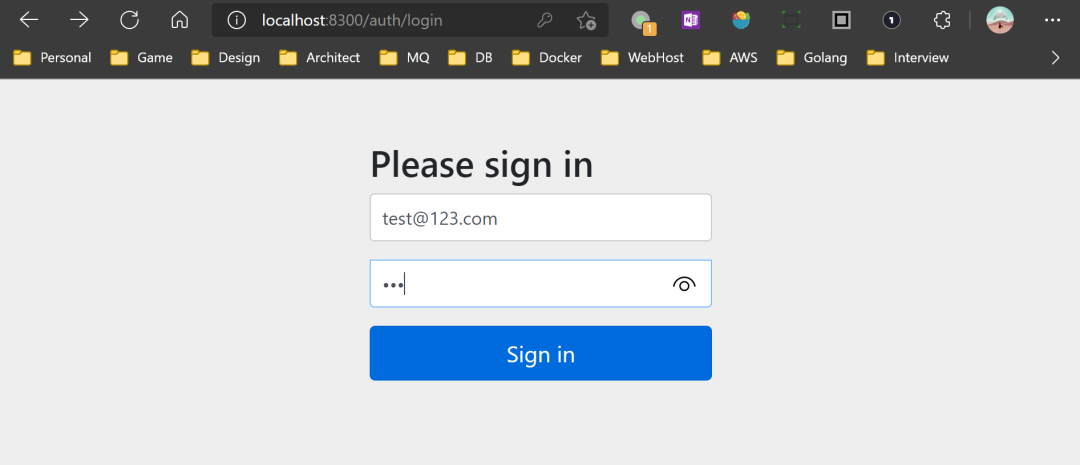
- 登录用户
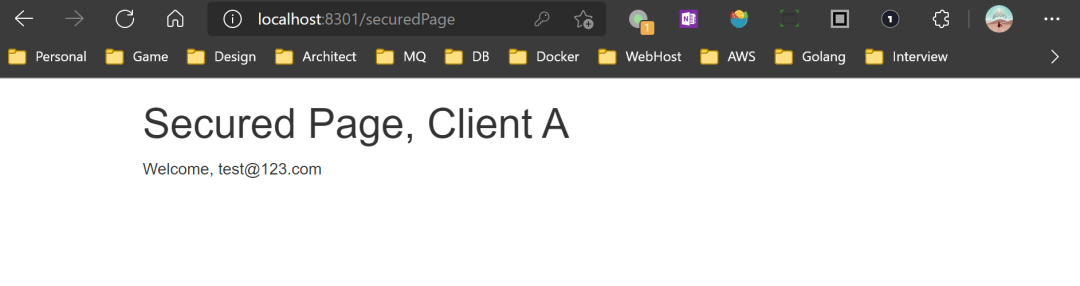
- 跳转回client-a localhost:8301,并完成登录认证
获取用户信息数据结构
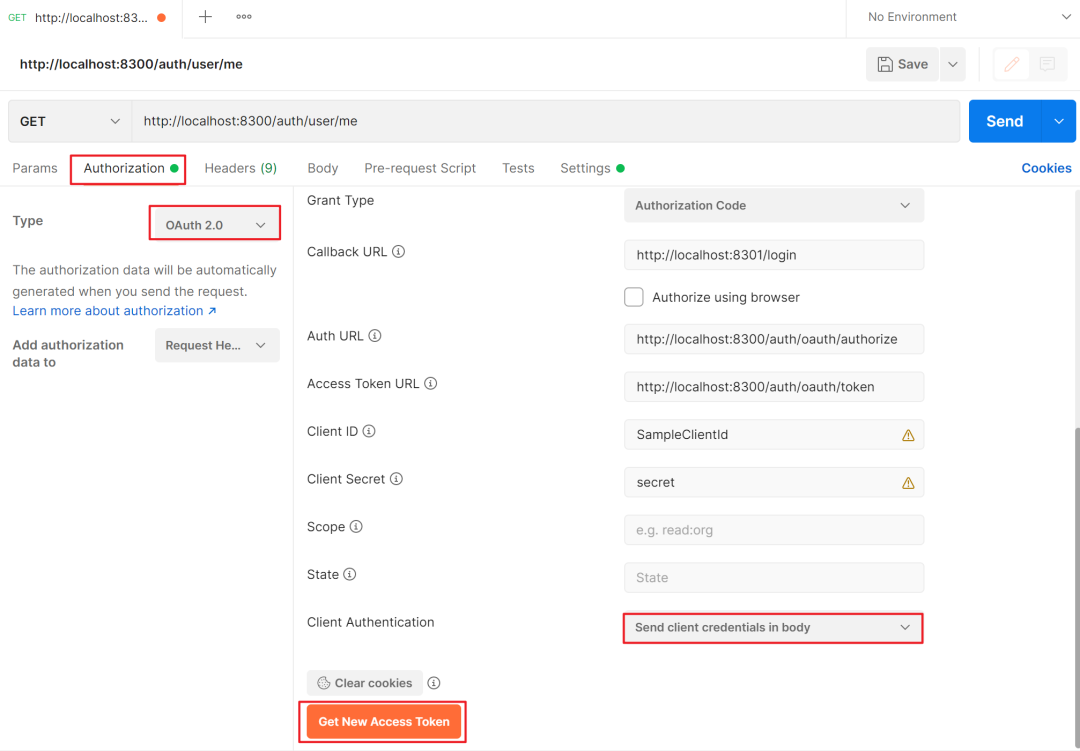
该步骤用于获取OAuth2的user-info-uri返回的数据结构,这里可以用Postman操作。
- 认证方式选OAuth2.0,根据上一章节的配置填写OAuth2的相关参数,然后点Get New Access Token
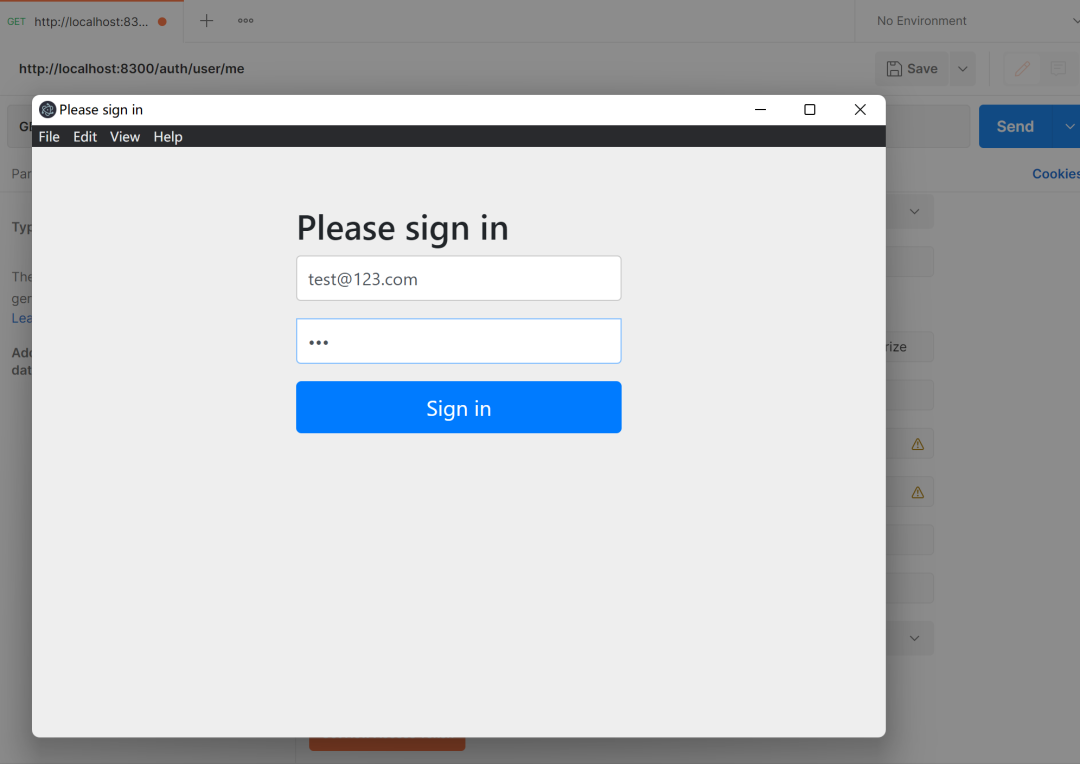
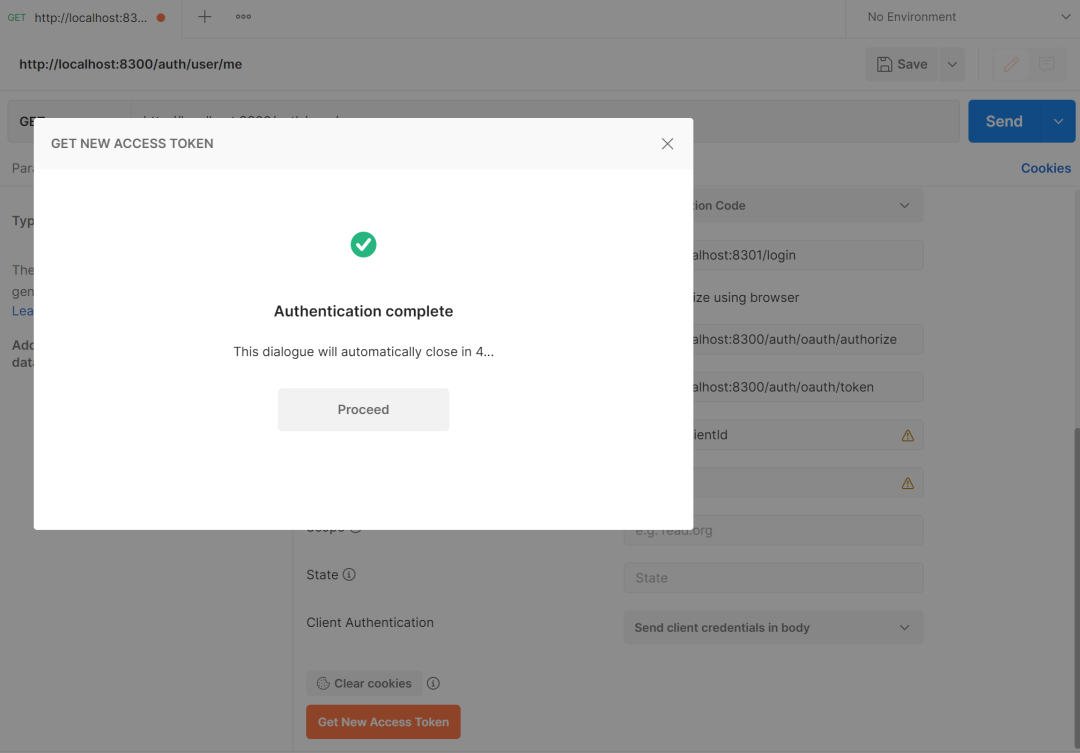
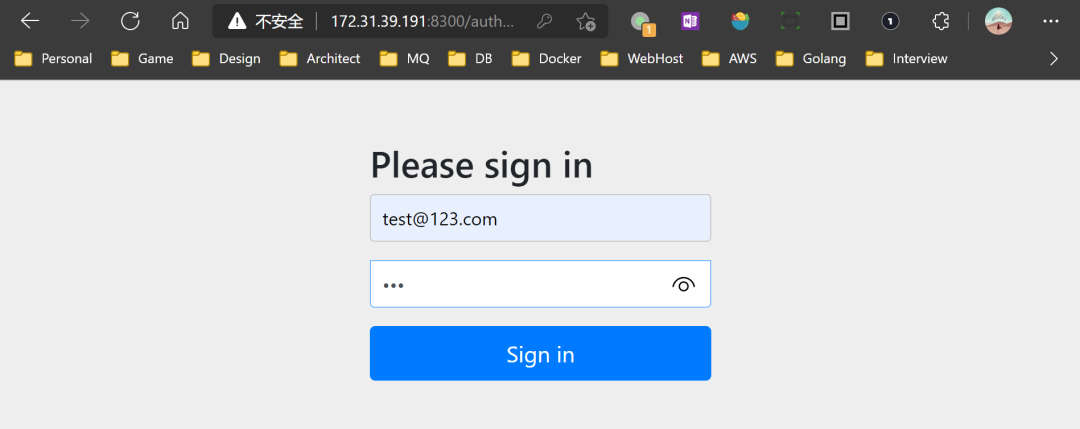
- Postman会弹窗进入OAuth2 SSO服务的登录页面,输入用户账号和密码,确认是否认证成功
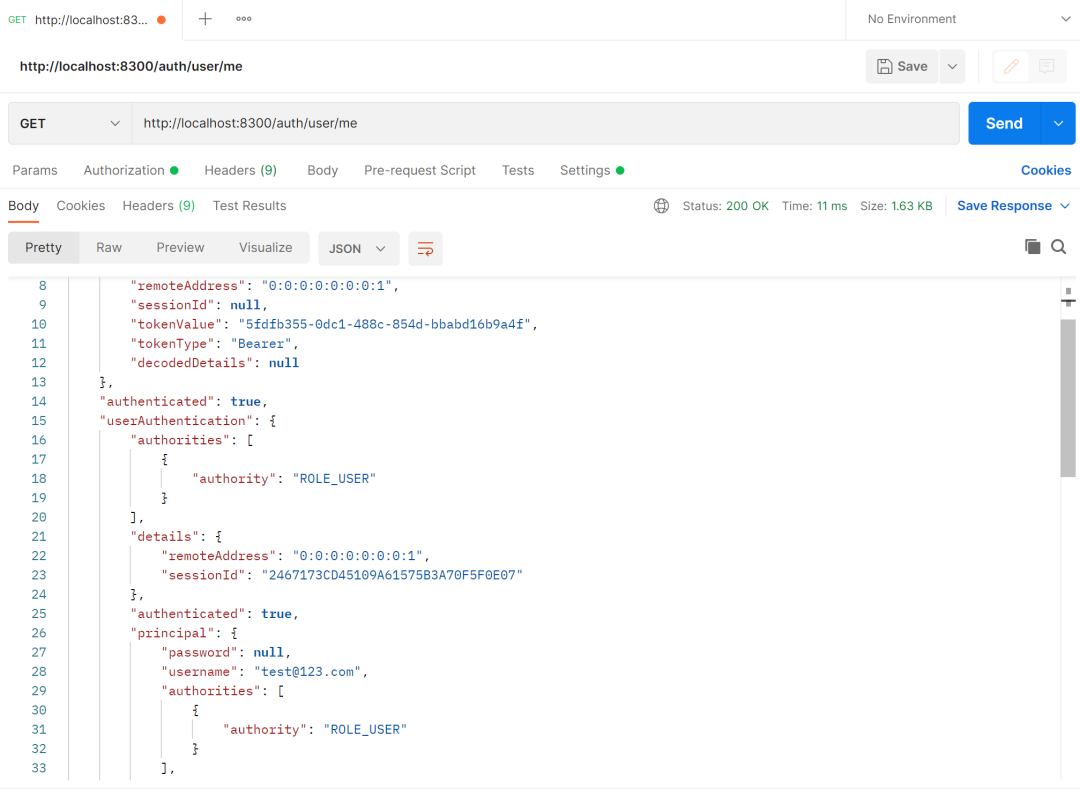
- 发送请求,获取响应结果,确认必须是Json格式
配置极狐GitLab
该步骤用于配置极狐GitLab与OAuth2对接并实现SSO。
极狐GitLab对接OAuth2的限制
- 只能用于单点登录,不会提供任何OAuth Provider授予的其他访问权限(例如导入项目或用户等)
- 只支持授权授予流程(最常见的客户端-服务器应用程序,如Rails应用程序)
- 不能从多个URL获取用户信息
- 不支持JSON以外的用户信息格式
修改/etc/gitlab/gitlab.rb,并gitlab-ctl reconfigure
gitlab_rails['omniauth_allow_single_sign_on'] = ['oauth2_generic']
# 使用OAuth登录的用户无需管理员审批,自动创建GitLab用户
gitlab_rails['omniauth_block_auto_created_users'] = false
gitlab_rails['omniauth_providers'] = [
{
"name" => "oauth2_generic",
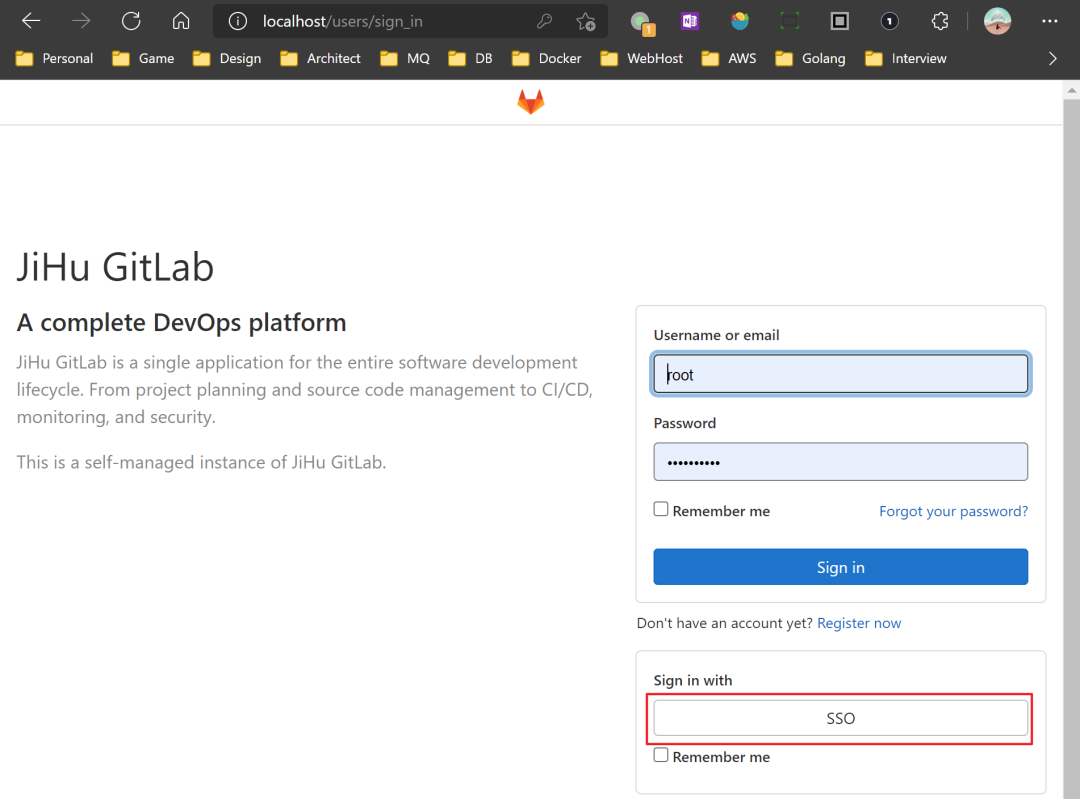
# 显示在GitLab登陆页面的SSO登录按钮的文字
"label" => "SSO",
# client_id
"app_id" => "SampleClientId",
# client_secret
"app_secret" => "secret",
args: {
client_options: {
# OAuth SSO 登录认证URL
site: "http://localhost:8300",
# OAuth 各服务的URL
user_info_url: "/auth/user/me",
authorize_url: "/auth/oauth/authorize",
token_url: "/auth/oauth/token"
},
# 对应上一章节用户信息数据结构
user_response_structure: {
# root_path用于逐层解析用户信息的Json,直到包含用户信息的节点。以上一章节的响应结果为例,用户名username在Json的/userAuthentication/principal节点下,对应root_path配置如下
root_path: ['userAuthentication','principal'],
# id_path是相对于root_path节点下的某个属性,作为GitLab用户的唯一id。以上一章节的响应结果为例,由于principal节点只包含了username,所以以username作为id,对应id_path配置如下
id_path: 'username',
# attributes是将root_path节点下的各个属性映射为标准Omniauth的用户属性,具体见 https://github.com/omniauth/omniauth/wiki/auth-hash-schema#schema-10-and-later
# 以上一章节的响应结果为例,由于principal节点只包含了username,且username是邮箱账号,所以可以将name和email都可以映射到username
attributes: { name: 'username',email: 'username'}
},
strategy_class: "OmniAuth::Strategies::OAuth2Generic"
}
}
]
运行测试
- 登录极狐GitLab,选择使用SSO登录
- 自动跳转到OAuth SSO服务
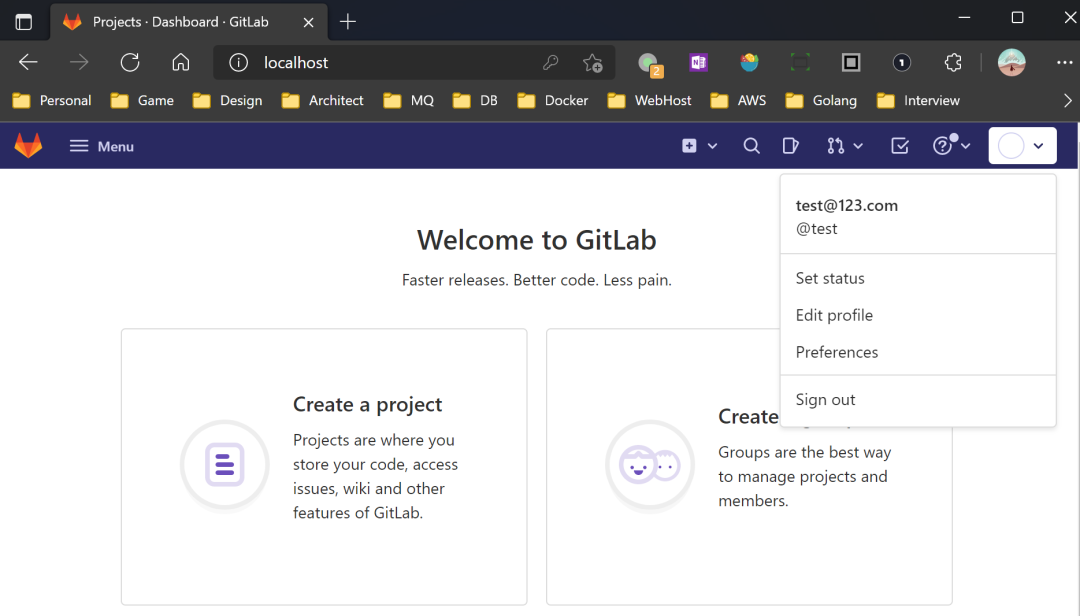
- 登录认证成功,返回极狐GitLab,并自动创建用户
注意事项
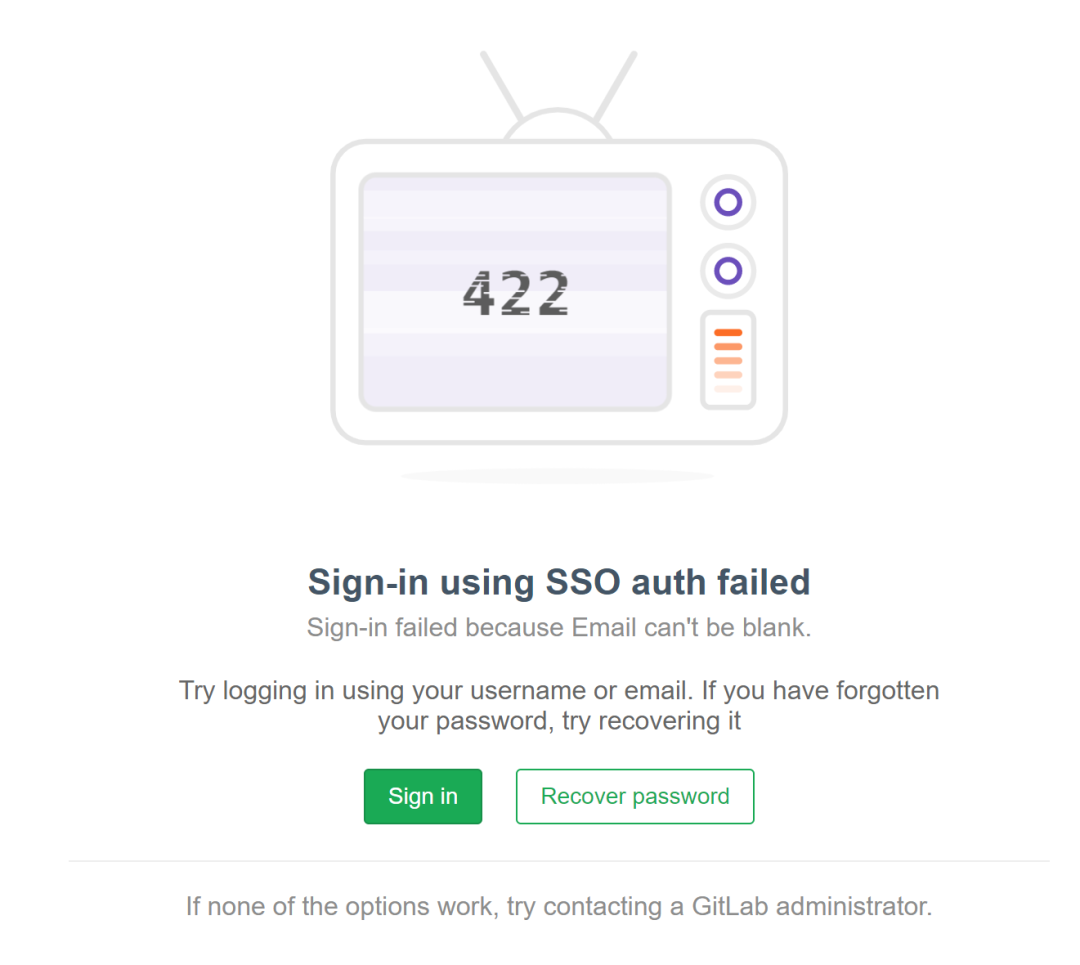
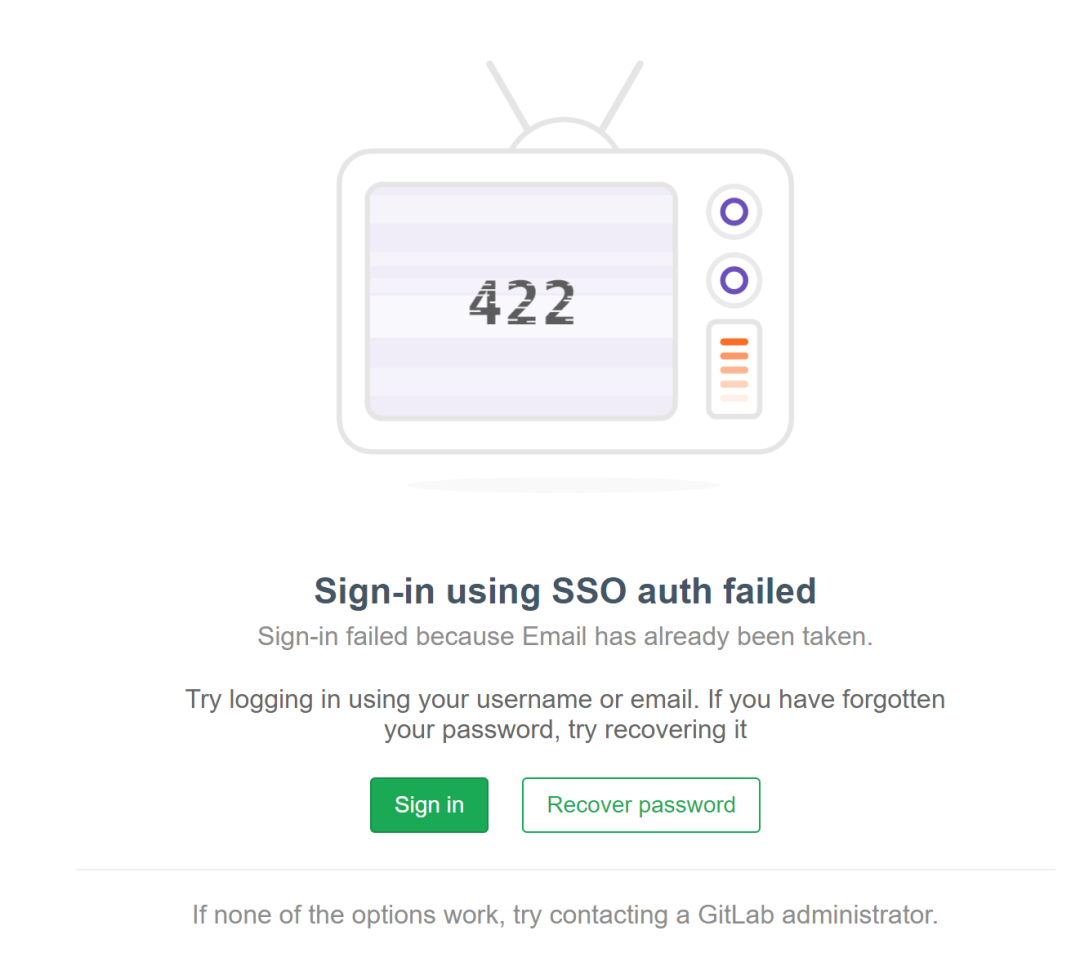
- OAuth2 返回的用户信息必须包含email信息,并映射到attributes的email。如本文示例中OAuth即便只返回username,但其内容是邮箱信息,且映射到了attributes的email,否则极狐GitLab会给出以下错误提示。
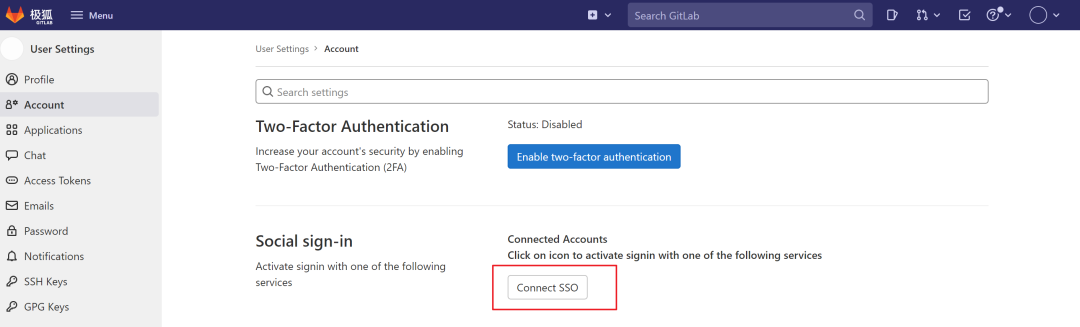
- 如果极狐GitLab中已经存在同名、同邮箱的用户,使用SSO登录会出现以下错误提示。
可参考OmniAuth[2]或参考下图将OAuth SSO关联到已存在的用户。
参考链接
-
https://juejin.cn/post/6844904082264555534
-
https://docs.gitlab.com/ee/integration/omniauth.html#enable-omniauth-for-an-existing-user